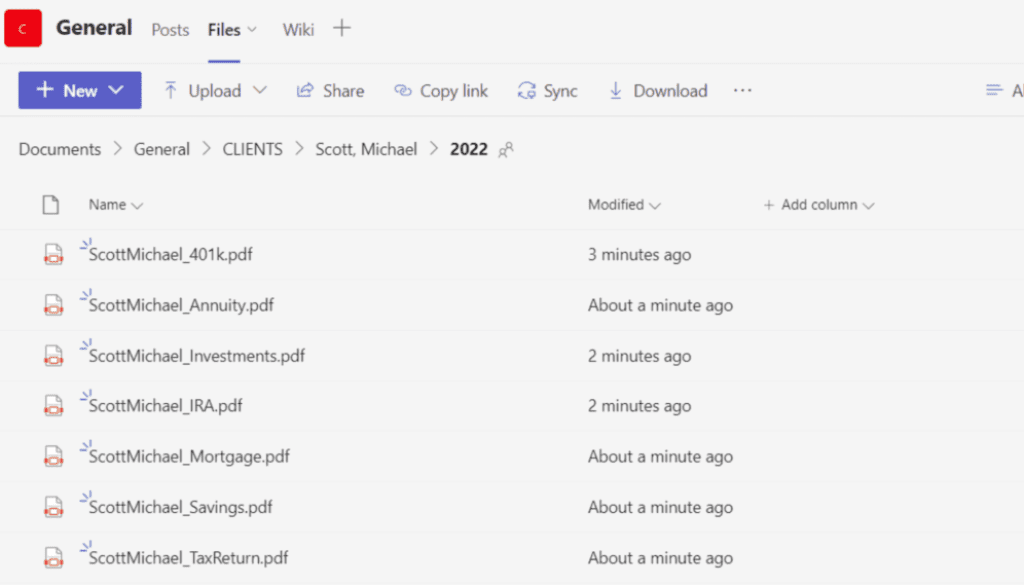
How to Automatically save Attachments from Outlook into a Client Folder in Teams
To automatically save attachments from Outlook into a client folder in Teams, you can use the Power Automate (previously known as Microsoft Flow) tool to create a workflow that will do this for you.
High-level overview:
- Sign in to the Power Automate website (https://flow.microsoft.com/) and click on the “Create” button.
- Select the “When a new email arrives” trigger.
- In the “Subject” field, enter the subject of the standard email that is received OR In the “From” field, enter the email address of the client whose attachments you want to save in Teams.
- In the “Has attachment” field, select “Yes”.
- Click on the “Add an action” button and search for the “Create file” action.
- Select the “Create file” action and choose the Teams folder where you want the attachments to be saved.
- In the “File name” field, enter a name for the attachment. You can use a dynamic value such as “Email subject” to automatically use the email subject as the file name.
- Click on the “Add an action” button again and search for the “Move email” action.
- Select the “Move email” action and choose the folder where you want to move the email after the attachment has been saved.
- Click on the “Create flow” button to save your workflow.
From now on, whenever you receive an email from the specified client with an attachment, the attachment will be automatically saved to the specified Teams folder and the email will be moved to the specified folder. This can save you time and help you keep your client’s documents organized.
Note: To use this workflow, you will need to have a Microsoft account with access to Power Automate and have the necessary permissions to create and edit workflows.


